
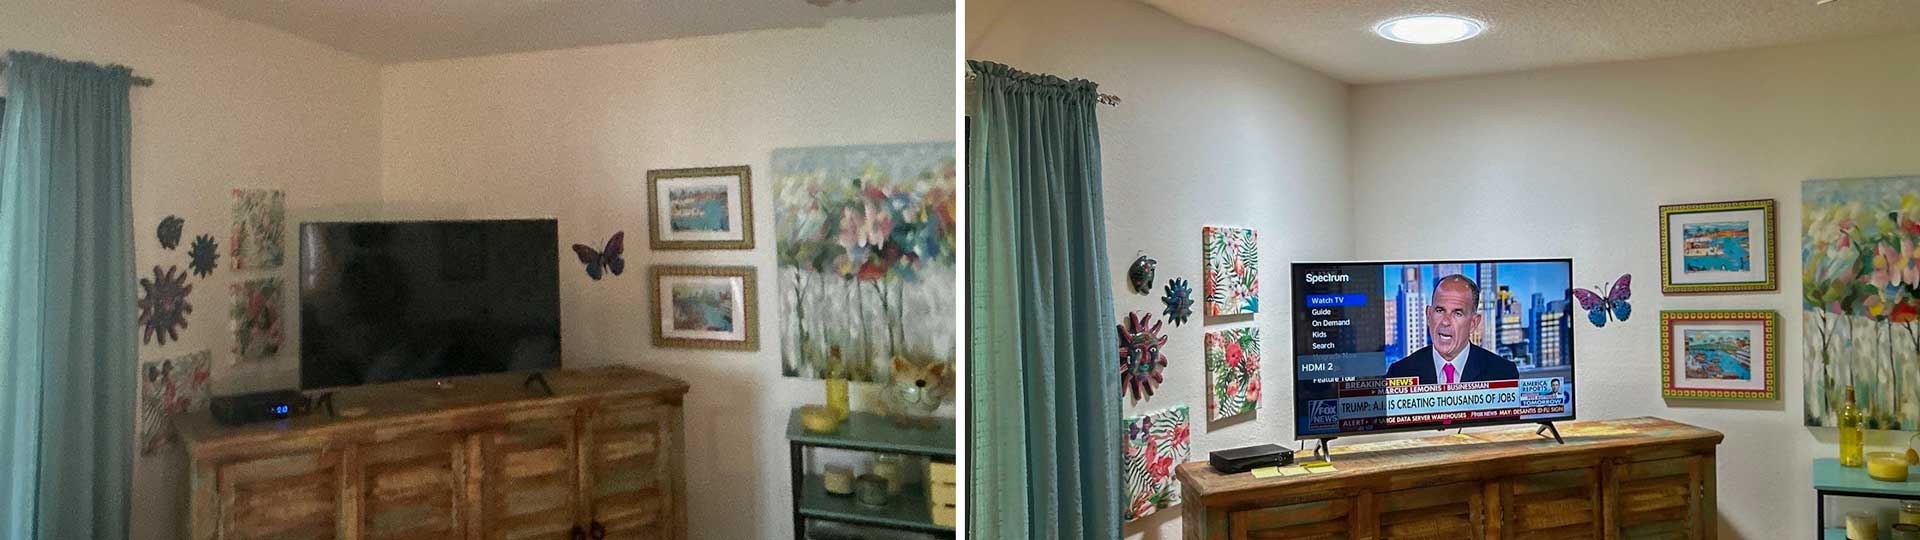
A 10″ Velux Sun Tunnel Brightens a Dark TV Room.
The owner of this residence in the Timber Pines neighborhood contacted us for an estimate to improve the lighting in the television room. Timber Pines is a 55+ community located in the Gulf Coast city of Spring Hill, FL about an hour north of Tampa.
Ultimately, the homeowner chose a VELUX TMR 010 Sun Tunnel as a cost-effective lighting solution.
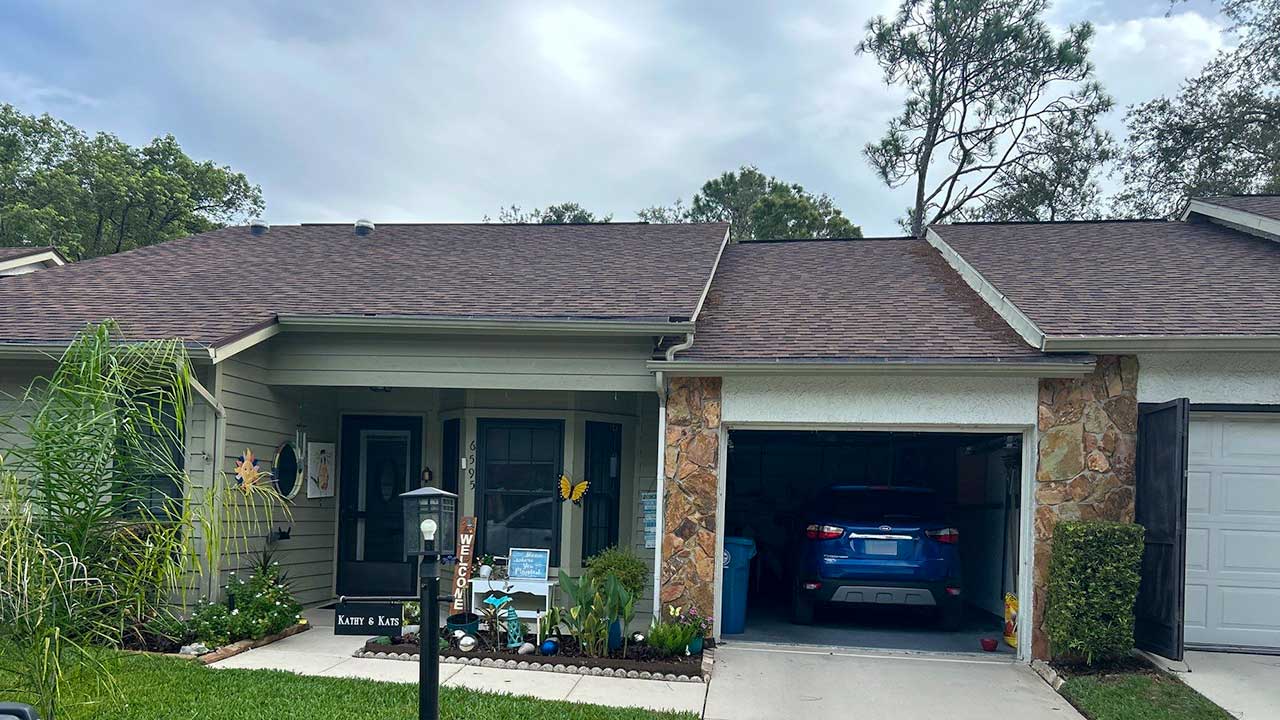
Installing the Velux Sun Tunnel Skylight
Installing a Velux Sun Tunnel Skylight involves several key steps to ensure proper functionality and aesthetics.
Location Selection: First, our team selects an ideal location on the roof that maximizes sunlight exposure while aligning cleanly with the interior layout.
Layout Transfer: After marking the area, our technician enters the attic to transfer these exact measurements from the ceiling to the roof deck.
Roof Opening: Next, we mark and cut out the roof opening on top to accommodate the tunnel assembly.
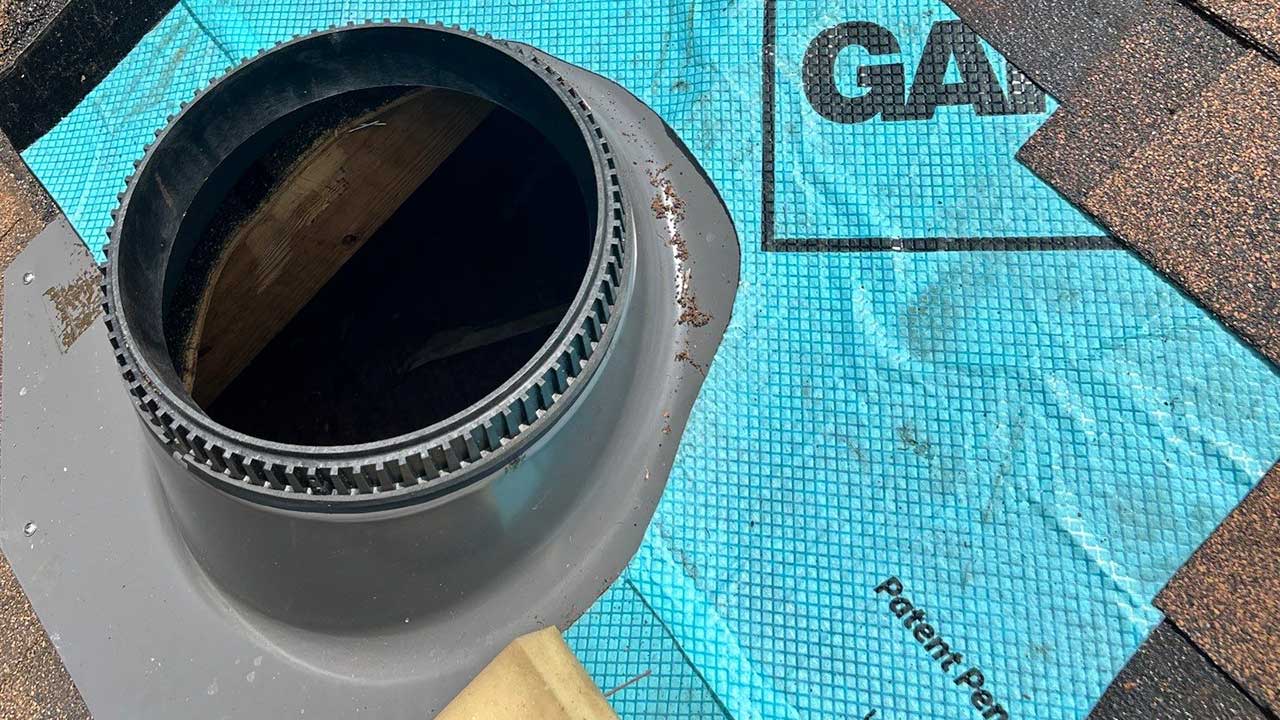
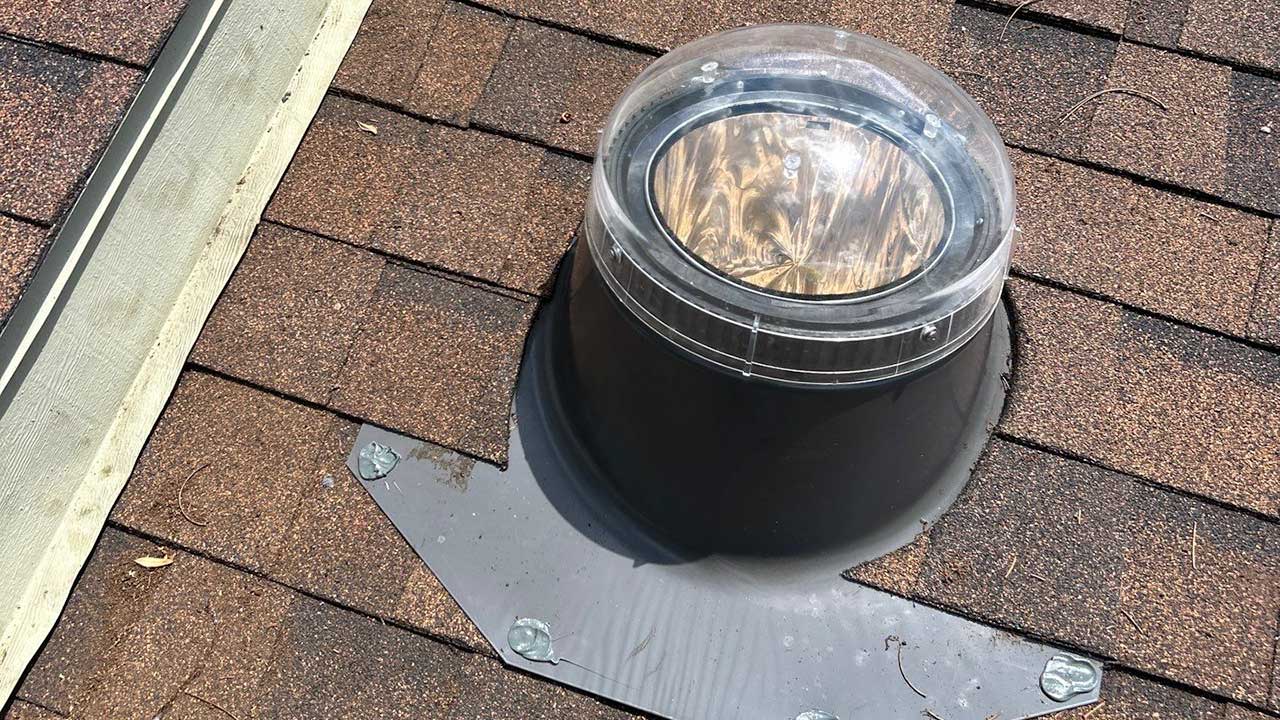
Sealing & Flashing: Then, we remove surrounding shingles to install the Sun Tunnel flashing. In addition, we apply a self-adhering membrane to guarantee a completely leakproof seal.
Final Assembly: Finally, the technician inserts the tube, installs the exterior dome, and connects the tubing directly to the diffuser bracket in the ceiling below.
Befpre and After
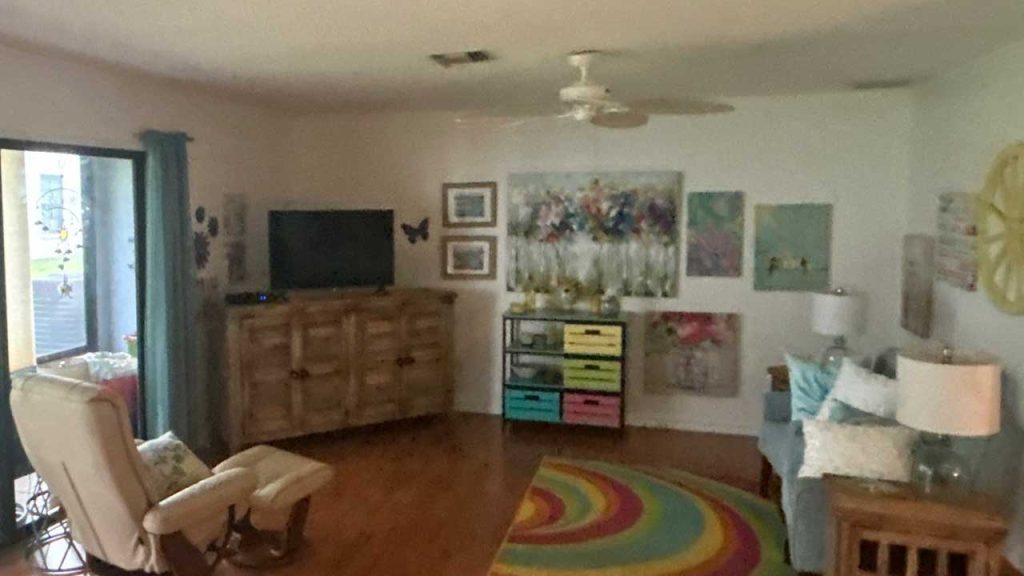
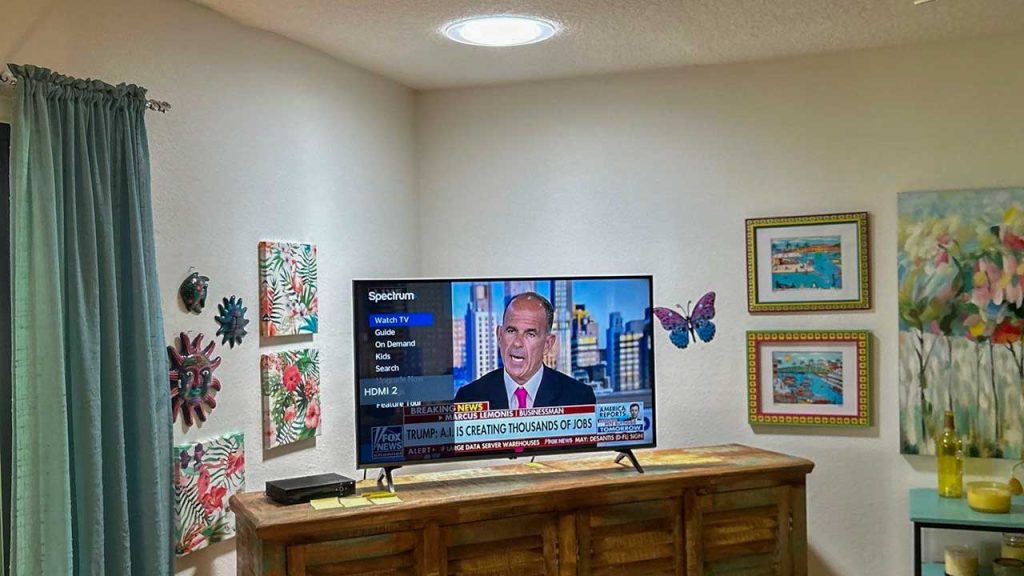
Product Used:
The Skylights:
- (1) VELUX TMR 014 Sun Tunnel.
- Skylight Specialists 5-year No Leak warranty.
Standard Features:
- Highly reflective tubing provides a brighter white light and a 20-year warranty.
- VELUX ten year warranty.

Customer Number: 49455