A 14″ Velux Sun Tunnel Brightens a Dark Living Room.
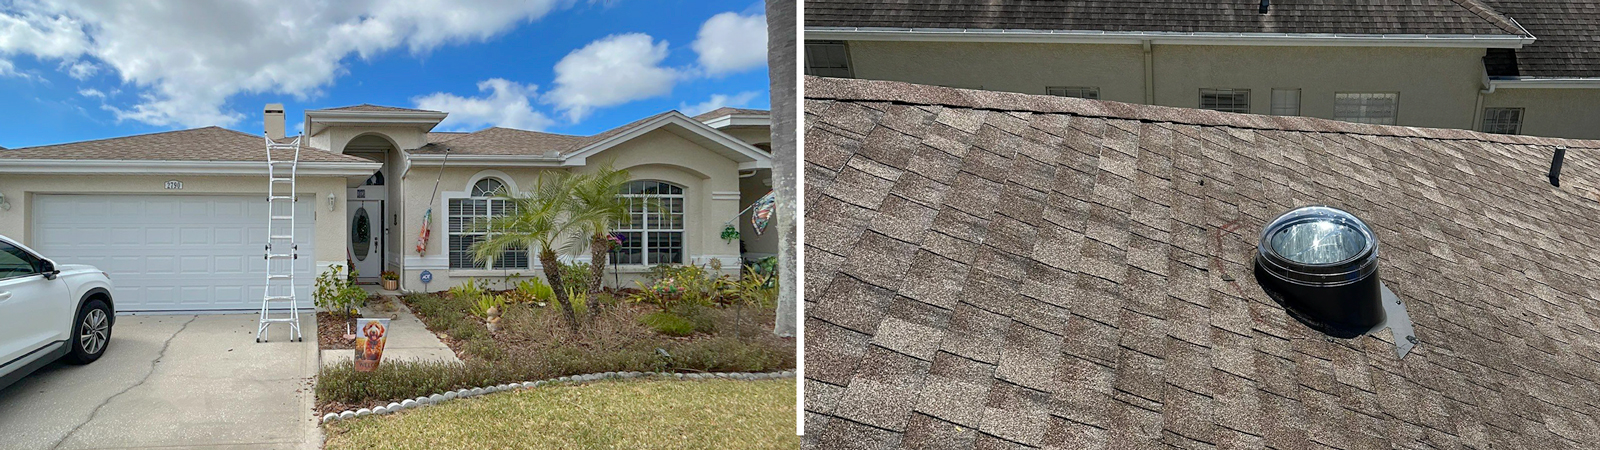
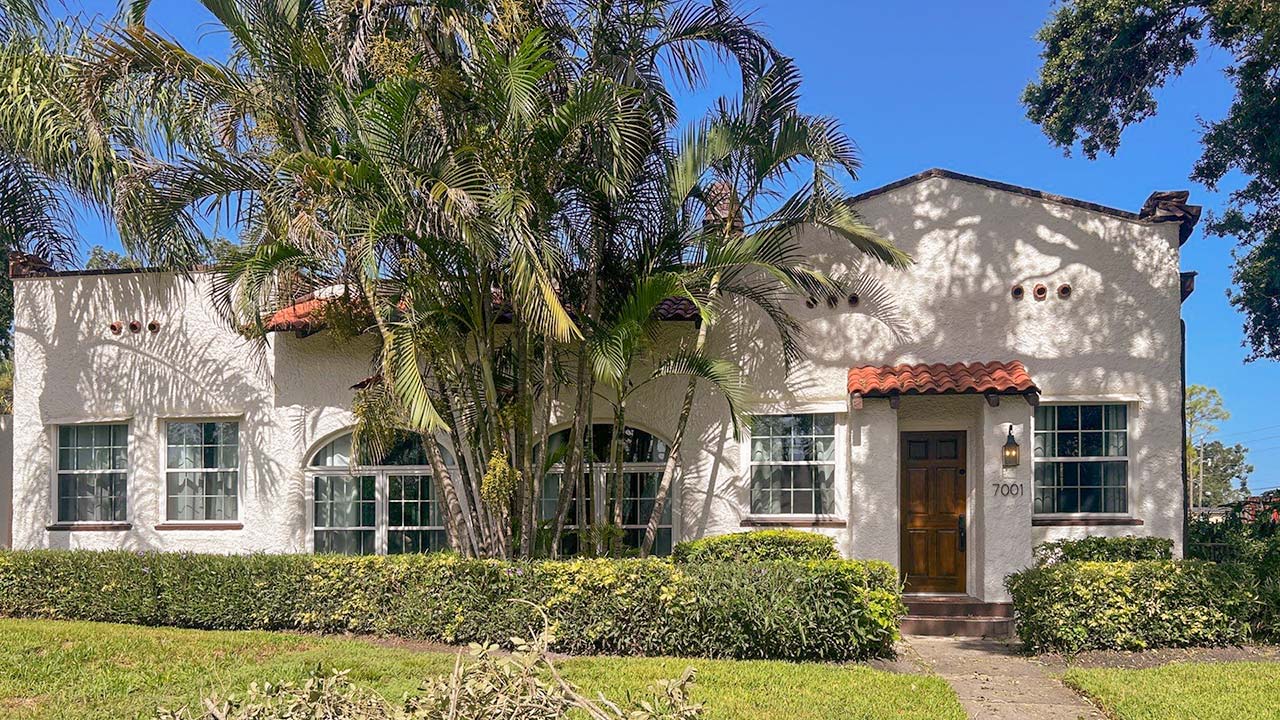
The owner of this residence in the Country Cove neighborhood of Clearwater contacted us for a Sun Tunnel estimate to improve the lighting in the living room.
A Velux TNR 014 was agreed upon as a cost effective solution.
Installing the Velux Sun Tunnel Skylight
Installing the skylight involves several key steps to ensure proper functionality and aesthetics. First, it is essential to select an appropriate location on the roof that allows for optimal sunlight exposure while considering the interior layout.
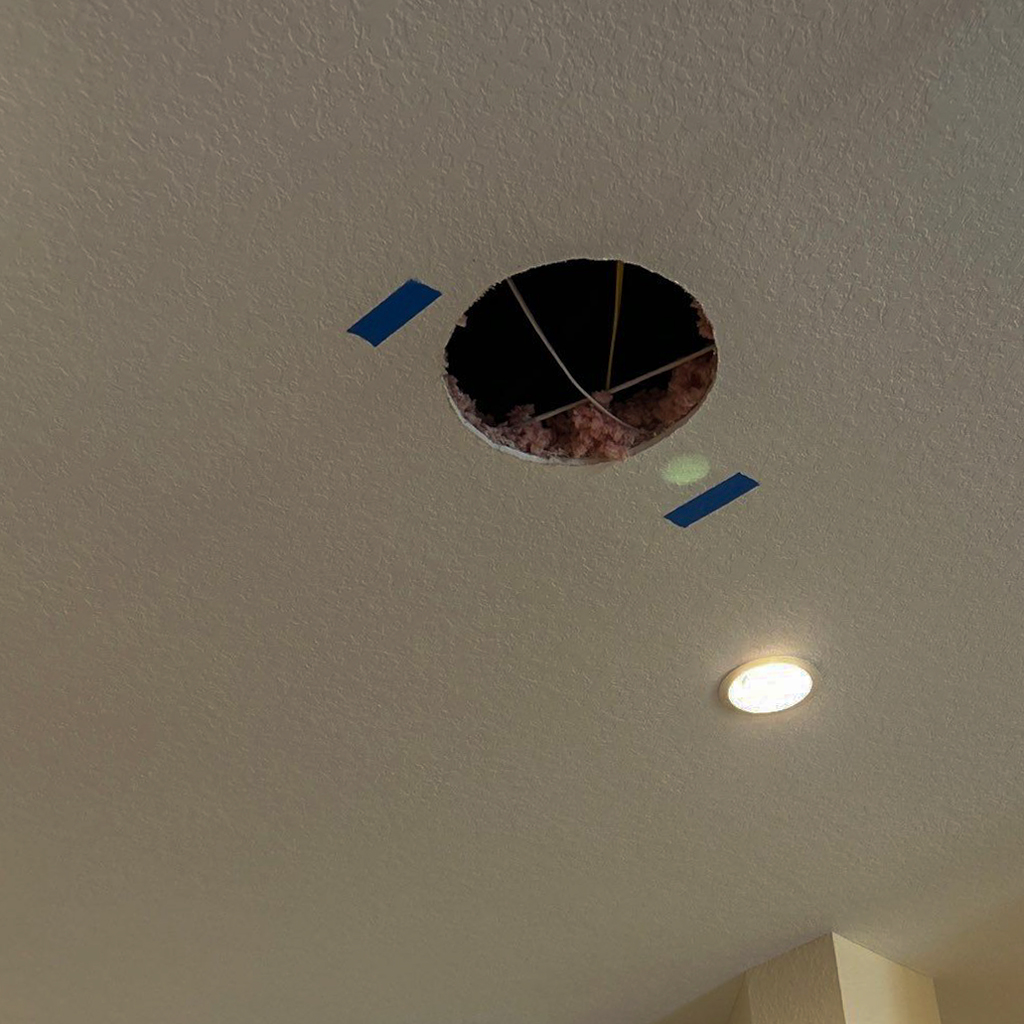
After marking the installation area, the technician enters the attic and transfers the measurements to the roof. Once the location is confirmed, an opening is marked and cut out on the roof to create space for the tunnel.
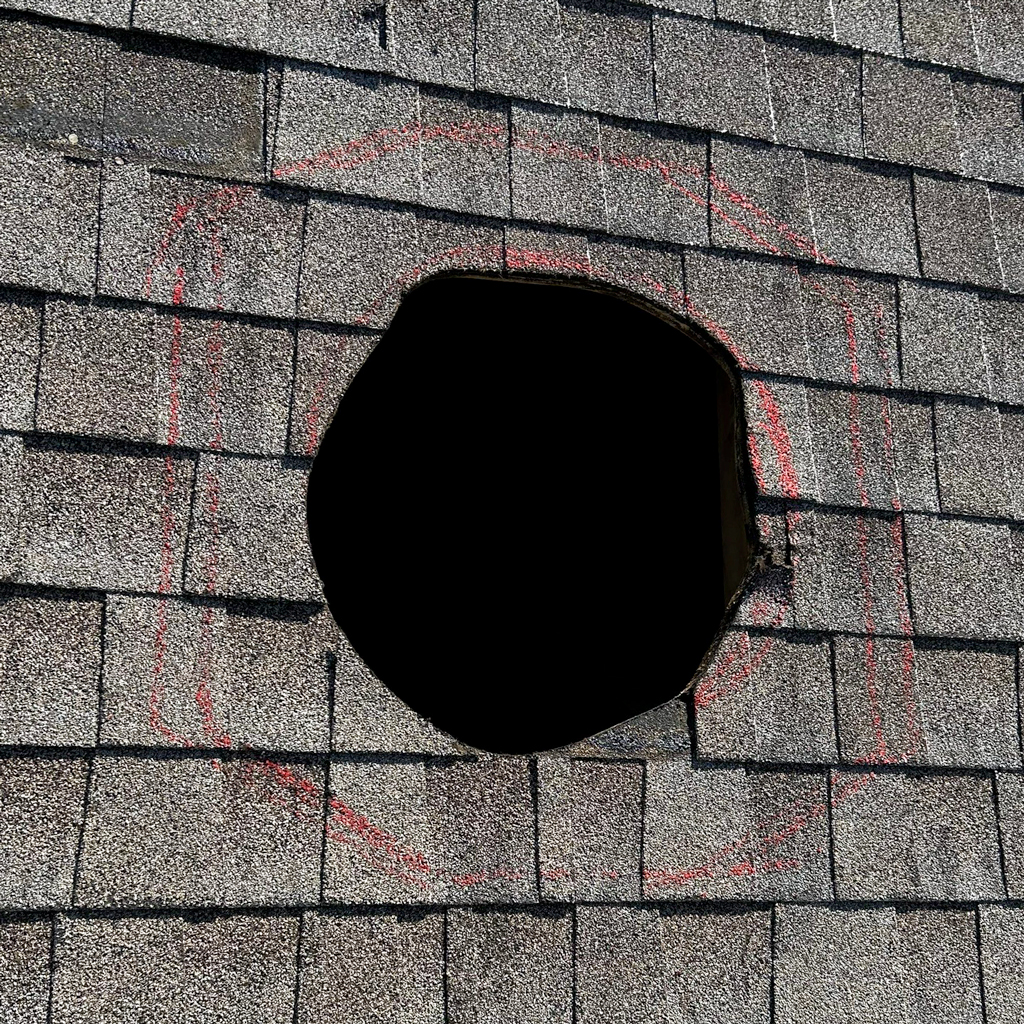
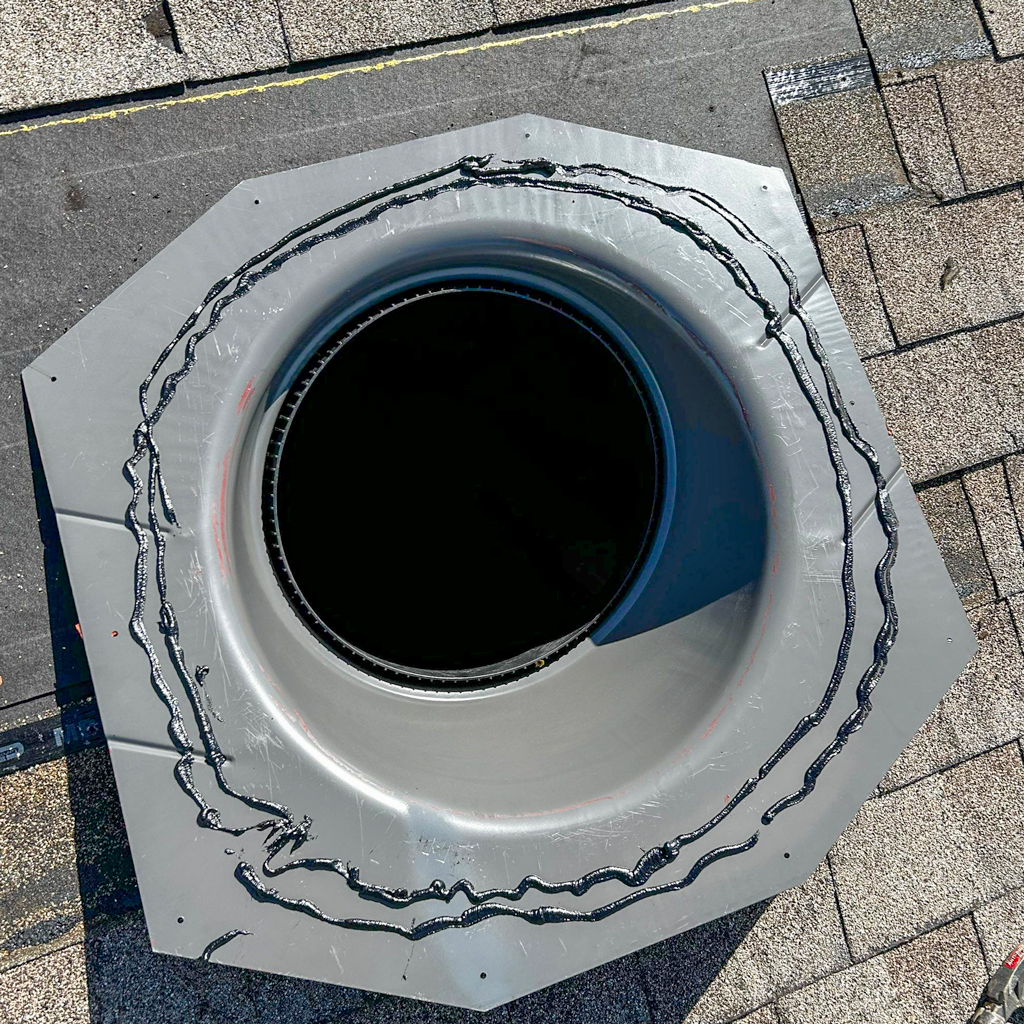
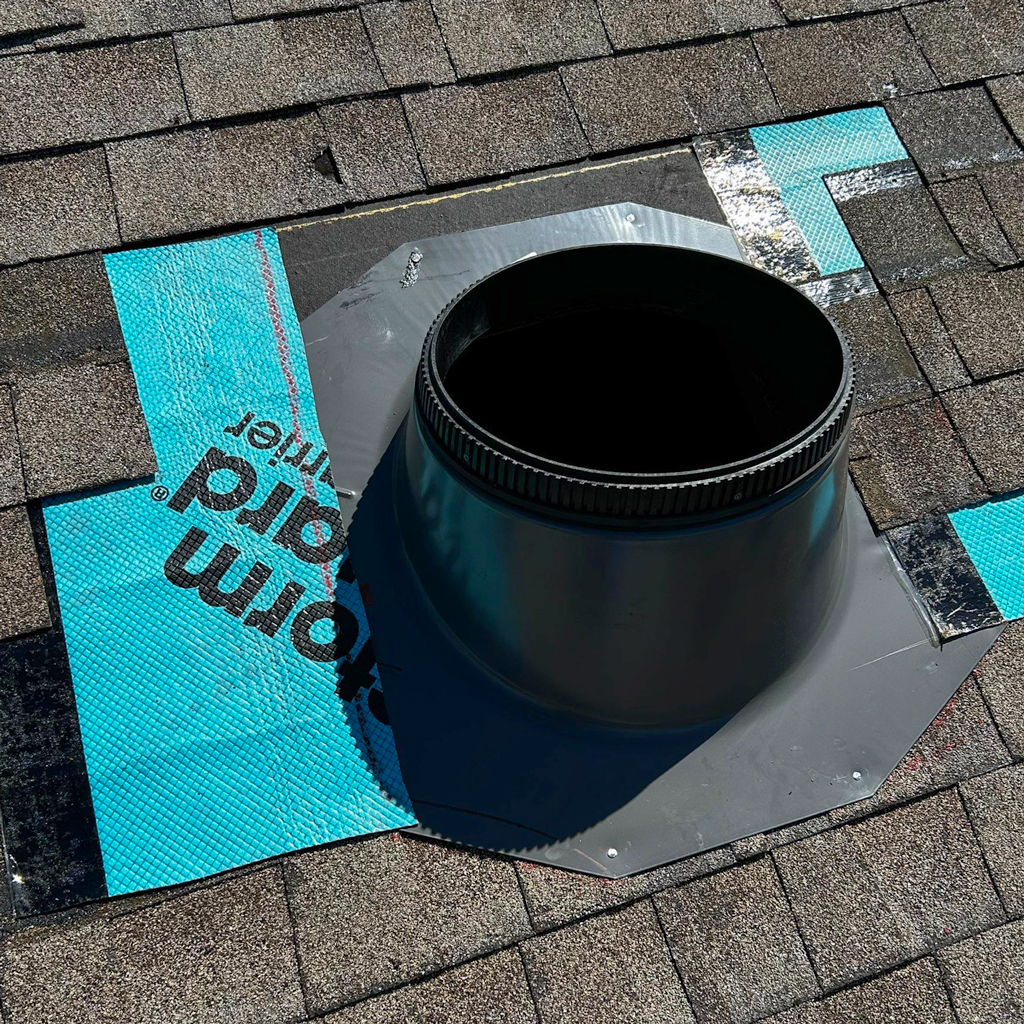
Next, shingles are removed around the opening and sealant is applied to the Sun Tunnel flashing. The flashing is then installed securely on the roof and a waterproof underlayment is applied around it.
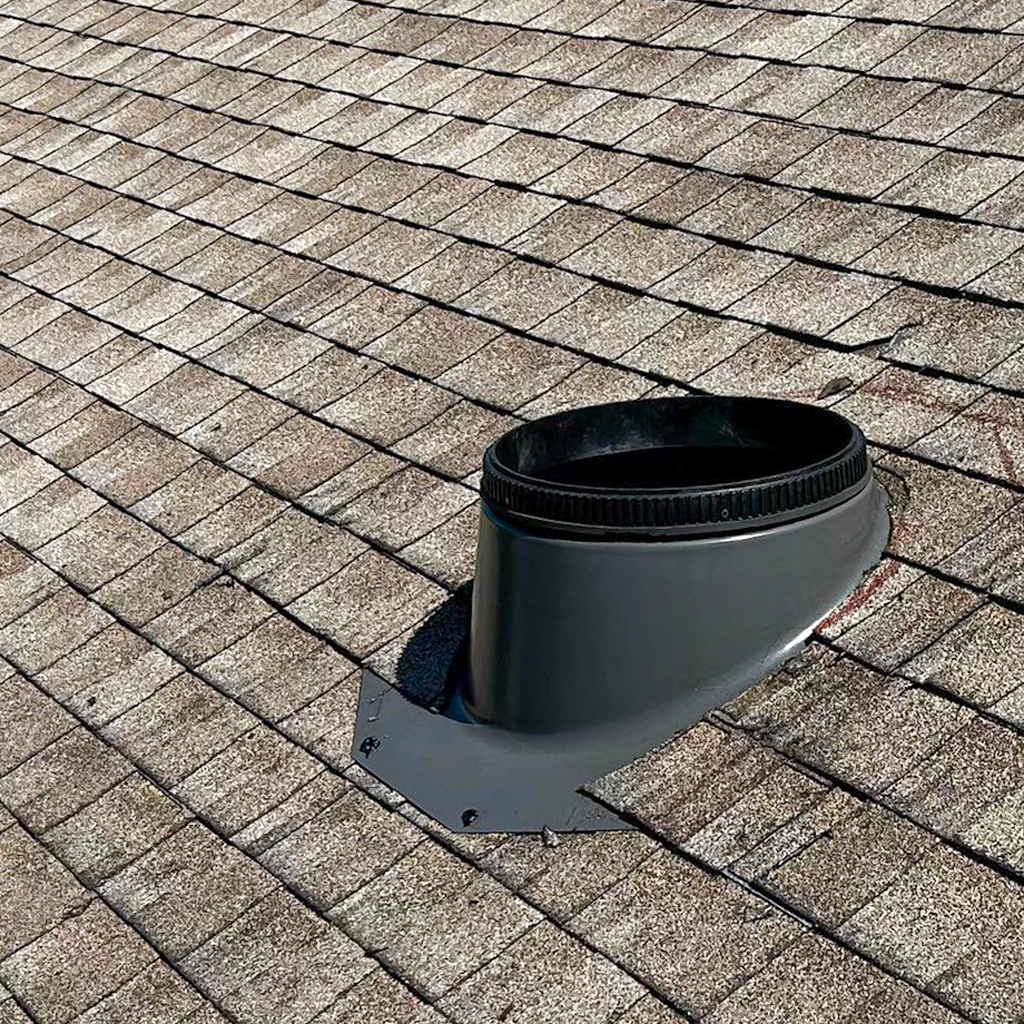
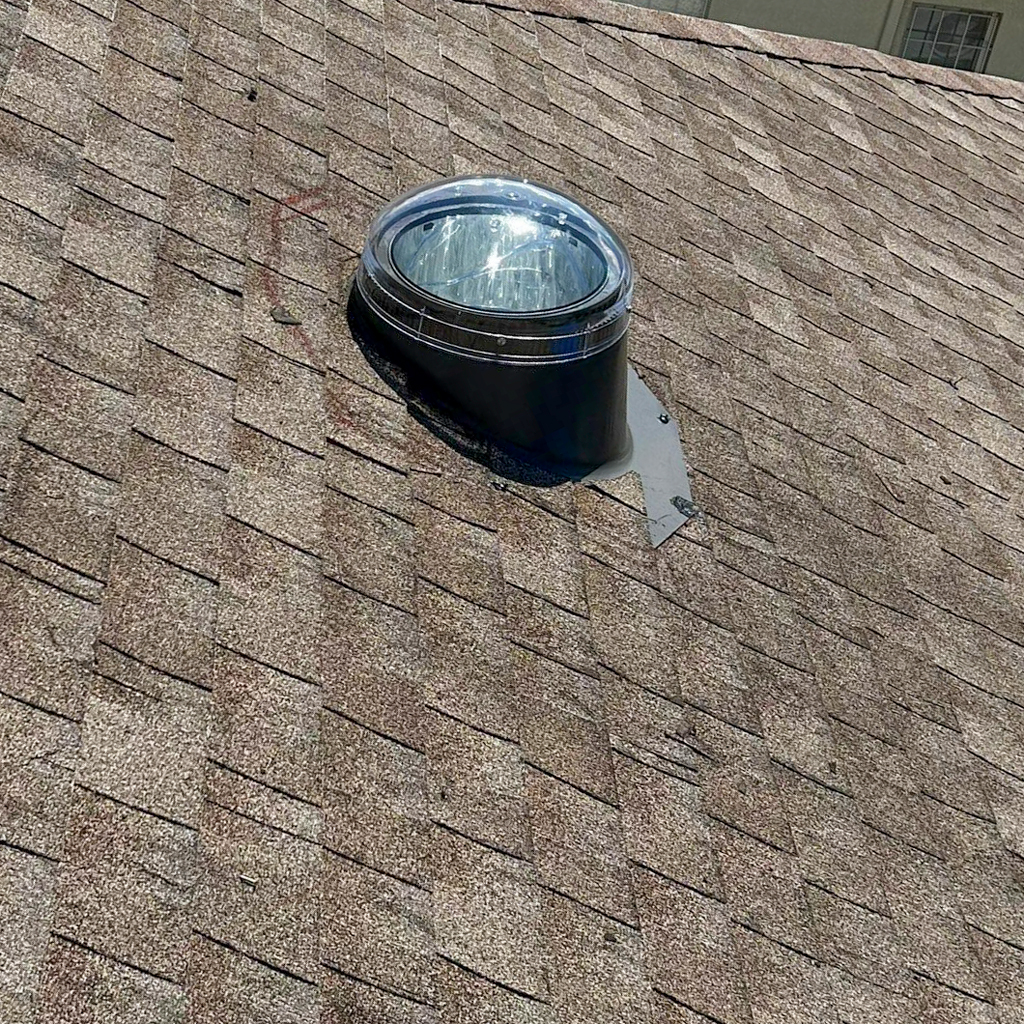
Subsequently, the shingles are replaced and the reflective tunnel is inserted and attached to the flashing. Finally, an impact-resistant dome caps off the installation on the roof to protect it from the elements.
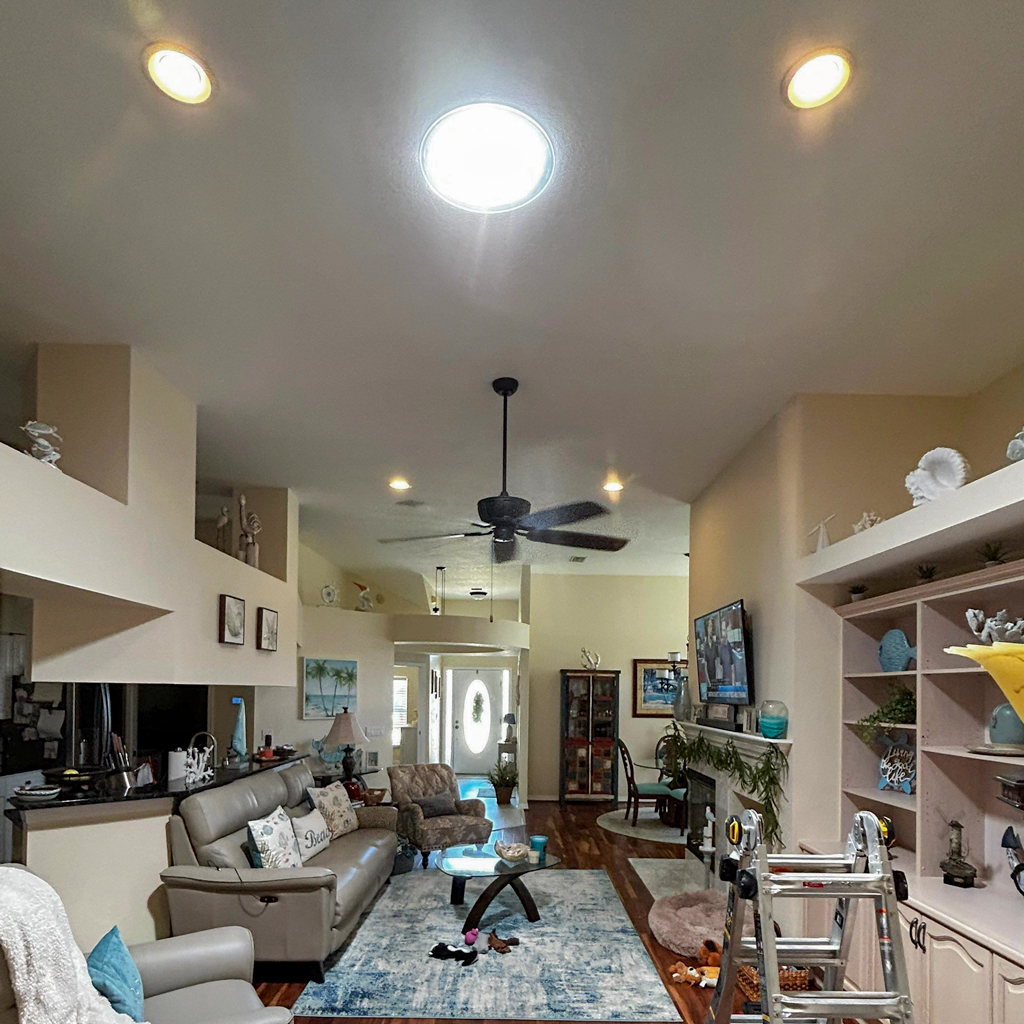
The Sun Tunnel Installation Is Complete.
To finish the project, the technician connects the reflective tunnel to the diffuser assembly.
As a result, the illumination from the diffuser is very soft compared to that coming from the incandescent fixtures. Furthermore, the light is spread so evenly that any remaining shadows are very diffuse.
Product Used:
The Skylights:
- (1) VELUX TMR 014 Sun Tunnel.
- Skylight Specialists 5-year No Leak warranty.
Standard Features:
- Highly reflective tubing provides a brighter white light and a 20-year warranty.
- VELUX ten year warranty.
Customer No. 48312